When your JCB 3CX backhoe decides it's a permanent lawn ornament and won't move an inch, forward or reverse, the problem is almost always the transmission solenoid. This is a classic failure on these machines, but don't let it fool you into thinking you need to call the dealer. This is a field-ready fix, and you don't need their permission or their laptop to do it.
Forget their scare tactics about a full transmission rebuild. More often than not, a simple solenoid swap is all it takes to get your yellow iron back in the dirt and earning its keep.
Why Your JCB 3CX Is Stuck and How to Fix It
There’s no worse feeling than a machine that’s dead in the dirt. You hit the shuttle lever, maybe hear a faint click—or more likely, nothing at all—and your whole day grinds to a halt. The mind immediately jumps to a catastrophic transmission failure, which is exactly what the dealer wants you to think.
They'll start talking about pulling the whole transmission, hooking it up to their proprietary "Service Master" laptop, and running diagnostics that conveniently end with a five-figure repair bill.
But let's cut through the B.S. That dealer laptop is designed to lock you out, not help you out. The real culprit is usually a small, inexpensive electro-hydraulic part: the forward/reverse transmission solenoid. It's the known weak link in the JCB drivetrain—the first thing to fail and the last thing the dealer wants to admit is an easy fix you can do yourself.
The Real Reasons Your Solenoid Fails
This isn't some mysterious failure that needs a team of engineers in white coats. It’s a workhorse part living in a brutal environment, and it dies for a few predictable reasons. Understanding them is the first step to dodging a tow bill and a long, expensive stay in the dealer's service bay.
- Contaminated Hydraulic Fluid: Your transmission fluid is the lifeblood of the system. Once it's contaminated with dirt, tiny metal shavings, or moisture, it turns into an abrasive slurry. This grit is notorious for jamming the tiny passages inside the solenoid valve, causing it to stick open or shut. It’s that simple.
- Electrical Gremlins: Let’s be honest, JCB wiring harnesses have a reputation. They get brittle and fail, especially around high-heat areas like the transmission. A chafed wire, a corroded connector pin, or a loose ground can easily starve the solenoid of the juice it needs to work.
- Simple Wear and Tear: Every single time you shift from forward to reverse, that solenoid fires. After thousands and thousands of cycles, the internal coil just weakens and burns out. Heat is its enemy, and after years of hard service, it simply gives up the ghost.
The fact is, a faulty solenoid is the prime suspect in most no-move situations. Data from independent repair shops and operator forums shows that a solenoid replacement restores movement in 70-80% of cases. That’s all the proof you need that a major overhaul is rarely the answer.
Before you start turning wrenches, you need to be sure. A failing solenoid gives off clear warning signs that are easy to spot if you know what you're looking for. If your machine is showing these symptoms, you can be confident you’ve found the problem.
Symptoms of a Failing JCB Transmission Solenoid
Use this quick checklist to confirm if a bad solenoid is the real reason your backhoe is dead in its tracks. These are the tell-tale signs we see out in the field all the time.
| Symptom | What It Means on the Job | Is It the Solenoid? |
|---|---|---|
| Delayed Shifting | You move the shuttle lever, but there's a 1-2 second pause before it lurches into gear. | Very Likely. The solenoid is getting weak and struggling to open the hydraulic passage. |
| Works Cold, Fails Hot | The machine runs fine for the first hour, then refuses to engage after it's warmed up. | Classic Symptom. As fluid thins with heat, a weak solenoid can't hold pressure. Textbook failure. |
| Works in One Direction Only | It drives forward perfectly but won't go into reverse (or vice-versa). | Almost Certain. This points directly to a failure in one of the two directional coils. Dead giveaway. |
| No Movement at All | You shift, hear no click, and the machine doesn't budge an inch. | Prime Suspect. The solenoid coil is likely burned out completely. It's not even trying. |
| Intermittent Failures | It works one minute and fails the next, with no rhyme or reason. | Yes. This is a common sign of a failing electrical component or a loose wire. It's on its last legs. |
If you're nodding along to one or more of these points, you've found your culprit. These intermittent issues are textbook signs of an electrical part about to die. The final straw is when it quits completely, leaving you stranded.
Don't call the dealer. Call Flat Earth Equipment, get the right part shipped directly to your site, and let's get this thing fixed ourselves.
Field Diagnostics Without the Dealer Laptop
So, your machine's dead in the water. Before you even think about cracking a hydraulic line, we need evidence. The first thing a dealer will do is plug in their fancy "Service Master" laptop. We don't need it. All you need are your eyes, ears, and a basic multimeter to prove that transmission solenoid is the real problem.
This isn't a guessing game; it's about collecting cold, hard facts. We're going to run a couple of simple, field-proven tests that will tell you right away if you’re looking at a cheap electrical fix or a wallet-draining mechanical nightmare. Nine times out of ten, the evidence points straight to the solenoid, saving you a massive tow bill and the weeks-long wait for a spot in their service bay.
This simple flowchart lays out the exact process we're about to follow. It's a straight line from identifying the "no-move" problem to the quick fix.
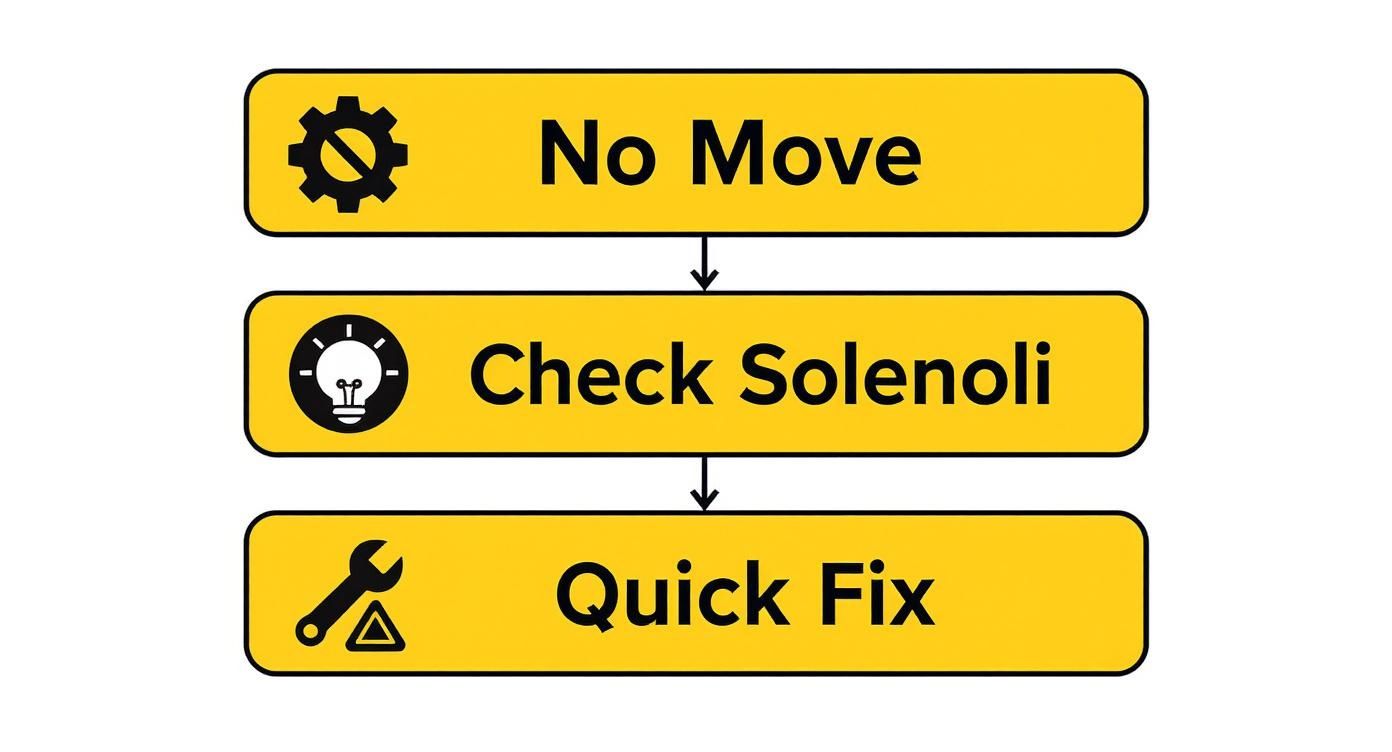
As you can see, the path forward is pretty clear. We're starting with a simple symptom and jumping straight to the most likely cause, skipping all the extra steps the dealer might drag you through.
The Auditory Check: The Click Test
This is the easiest test you'll ever do, but it speaks volumes. It takes zero tools—just a quiet environment and your own ears. The whole point is to figure out if the solenoid is even trying to fire.
Here's how to do it:
- Safety First: Get the machine on level ground, set the parking brake, and make sure nobody's near it. Safety is non-negotiable.
- Key On, Engine Off: Turn the key to the "on" position, but don't start the engine. You want the electronics powered up without the diesel engine drowning everything out.
- Listen Closely: Get down near the transmission (it’s usually under the cab on the left side). Have a helper sit in the cab and slowly shift the shuttle lever from neutral to forward, back to neutral, and then to reverse.
Each time they shift into forward or reverse, you should hear a very distinct, sharp "click" coming from the solenoid pack.
If you hear that click, the solenoid is getting power and trying to work. If you hear absolute silence, that's a dead giveaway. You've either got a bad solenoid coil or a problem in the electrical circuit feeding it.
Getting Answers with a Multimeter
If the click test was a bust, it's time to grab your multimeter. This little tool turns you into the technician, leaving the dealer's laptop on the shelf where it belongs. We're looking for three things: voltage at the connector, coil resistance, and continuity.
A quick word of advice: make sure your multimeter has a good battery. A weak tester gives you bogus readings, making it useless.
Voltage Check at the Harness
First thing: is power even making it to the solenoid? Unplug the main electrical connector that feeds the transmission solenoid pack. You’ll usually find this multi-pin plug near the top of the transmission.
With the key still on, have your helper move the shuttle lever to forward. Now, probe the correct pins in the harness-side connector with your multimeter set to DC volts. You should see a solid 12 to 14 volts. Repeat the test for the reverse pin.
Field Tip: If you're getting a clean 12V reading at the harness but the solenoid isn't clicking, you’ve confirmed a bad solenoid coil. The power is getting there, but the coil is dead and can't do its job. Order the part.
Resistance (Ohm) Test
If you got no voltage at the harness, your problem is further upstream—fuses, relays, the shuttle lever switch. But if you did have voltage, the next move is to test the solenoid coil’s resistance.
Unplug the solenoid and set your multimeter to Ohms (Ω). Touch one probe to each of the two pins on the solenoid itself. A healthy JCB forward/reverse solenoid coil should read somewhere between 8 and 15 Ohms.
- A reading of "OL" (Over Limit) or infinity means the coil is burnt out. It's an open circuit—totally useless.
- A reading of 0 Ohms indicates a dead short inside the coil. It's also toast.
These multimeter tests take ten minutes, tops. But they give you definitive proof. You now have the hard data to confidently say the solenoid is shot, letting you order the right part from a supplier like Flat Earth Equipment and get yourself back to making money.
Your Guide to Replacing the Transmission Solenoid
Alright, you've done the legwork. The multimeter confirmed what your gut was telling you: the transmission solenoid is toast. Now for the satisfying part—ripping out the bad component and getting the new one in. This is where you save yourself from a thousand-dollar tow bill and weeks of waiting on a dealer.
Don't let anyone tell you this is some complicated, "shop-only" repair. It isn’t. With a basic set of wrenches, some common sense, and an hour or two, you can have your 3CX back in the fight. We’re going to do this right, right where the machine sits.
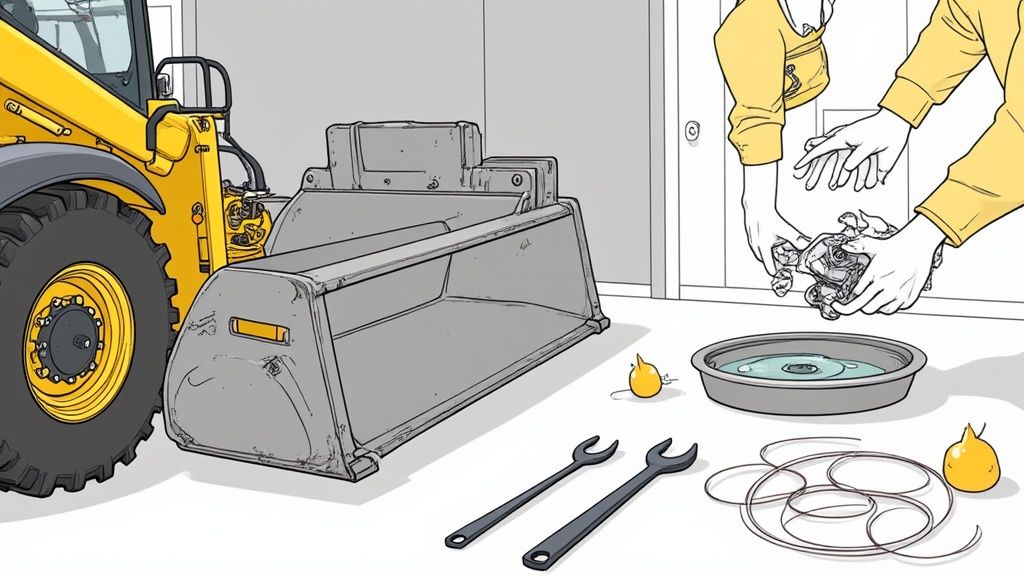
Prepping for Surgery
Before you put a wrench on a bolt, we need to make the machine safe. This isn’t a suggestion; it’s a hard rule. A backhoe that decides to roll away will ruin your day, your equipment, or worse.
First, get the machine on the most level ground you can find. Drop the loader bucket flat on the ground and put the backhoe stabilizers down firmly to lock it in place.
Next, chock the wheels. Use proper wheel chocks on both the front and rear of at least two tires.
Finally, and this is critical, disconnect the battery. Pop the hood and pull the negative terminal off first. This simple step prevents any accidental electrical shorts that could fry your new solenoid or, worse, the machine's ECU. The dealer would love to sell you a new one of those for a pretty penny.
Locating and Accessing the Solenoid Pack
Now, let's find our target. On most JCB 3CX models, the transmission solenoid pack is bolted to the side of the transmission housing. You’ll typically find it on the left side of the machine, right under the cab floor. Yep, you'll have to get on your back to see it.
Look for a rectangular aluminum block with a couple of cylindrical solenoids sticking out, each with wires coming from the top. The whole assembly is held on by a few bolts, and you'll see the main wiring harness plugging right into it.
You’ll be working in a tight spot, so a good creeper and a work light will be your best friends here.
Draining the Transmission Fluid
Get a drain pan that’s big enough to hold at least 5 gallons (about 20 liters) of fluid—you don't want a mess. Slide it under the transmission drain plug, which is usually a large hex-head plug at the bottom of the transmission case.
Crack it loose and let the fluid drain completely. While it's draining, pay attention to what comes out. Is the fluid dark and burnt-smelling? Do you see a metallic sheen in it? That’s a sign of clutch pack wear. Is it milky or foamy? That’s water contamination.
A fluid drain tells a story. Burnt fluid is a warning that you should probably change your transmission filter and fluid more often. Finding excessive metal is a sign of bigger problems, but in most cases, a simple solenoid failure won't show major contamination.
Once the flow slows to a drip, clean the drain plug threads and reinstall it. Don’t crank on it—just snug it up.
Removing the Old Solenoid
With the fluid drained, you can get the old part out. The process is straightforward, but take your time with that electrical connector. Those plastic clips get brittle from heat cycles and absolutely love to snap.
- Disconnect the Wiring: Carefully unplug the main electrical harness from the solenoid pack. Use a small flathead screwdriver to gently depress the locking tab. Don't force it.
- Unbolt the Pack: The solenoid pack is typically held on by four bolts, usually 10mm or 13mm. A socket wrench with an extension is your best bet. Break all the bolts loose before you remove any of them completely.
- Gently Pry it Loose: Once the bolts are out, the pack might be stuck on by its O-rings. Grab a pry bar or a large flathead screwdriver to gently work it loose. Pry evenly from different sides to avoid gouging the aluminum mounting surface on the transmission.
As it breaks free, some residual fluid will spill out, so keep that drain pan handy. Pull the old solenoid pack out and set it aside.
Installing the New Solenoid
Proper installation is what makes this a lasting fix. Cleanliness is absolutely key here.
Start by meticulously cleaning the mounting surface on the transmission. Use a clean, lint-free rag and some brake cleaner to wipe away all the old fluid, dirt, and any bits of the old O-rings. That surface needs to be perfectly clean for the new seals to do their job.
Your new solenoid from a quality supplier like Flat Earth Equipment should come with fresh O-rings. Never reuse old O-rings. It's not worth the risk of a leak. Lightly coat the new O-rings with clean transmission fluid before installing them onto the new solenoid pack. This helps them seat properly and prevents tearing.
Carefully position the new solenoid pack onto the transmission, making sure it sits flush. Hand-tighten all the mounting bolts first to ensure it's aligned correctly. Then, grab a torque wrench and tighten them to the manufacturer's spec, which is typically around 18-22 ft-lbs (24-30 Nm). This guarantees a leak-free seal without warping the housing.
Reconnect the electrical harness and listen for the "click" to know it's secure. Finally, refill the transmission with the correct type and amount of new hydraulic fluid. And since you're already in there, install a new transmission filter. Don’t cut corners now.
Sourcing Parts and Avoiding the Dealer Markup
You've done the work, you've got the proof, and you know the solenoid is shot. Now comes the part where most guys get cornered: getting the replacement parts. The dealer's parts counter is the last place you want to be. They’ll act like they’re selling you gold-plated components, but what you’re really paying for is their fancy showroom and bloated overhead.
Don't fall for it. The truth is, high-quality aftermarket parts exist that meet or beat OEM specs, and they won't cost you an arm and a leg. This is where suppliers like Flat Earth Equipment become a lifeline. We get parts to guys in the field who can't afford to wait on dealer backorders or pay insane markups. You get the right part, fast, and get back to work.
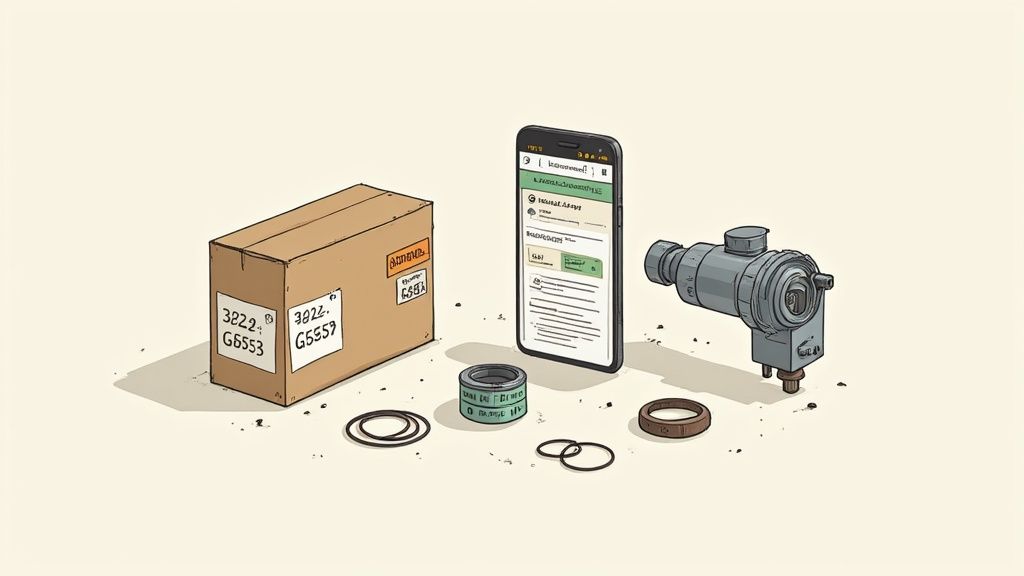
Getting the Right Parts the First Time
Ordering parts shouldn't be a guessing game. For a JCB 3CX with a "won't move" problem, you need to be precise. The most common solenoid part number you’ll run into is 332/G3553, but always double-check it against your machine's serial number.
Your machine's serial number is the key. A quick call to a knowledgeable supplier can confirm you're getting the exact fit. If you're ever in doubt, the team at Flat Earth Equipment can help you cross-reference your serial number to ensure you're ordering the correct component. You can reach out to us right here: Contact Flat Earth Equipment.
While you're ordering the solenoid, be smart and bundle the other essentials you'll need to do the job right.
- New Transmission Filter: You've just drained the fluid. Putting old, contaminated fluid back in with a clogged filter is asking for a repeat failure.
- Fresh O-Rings: Any quality solenoid kit should include them, but confirm it. Never, ever reuse old rubber seals. A $2 O-ring is cheap insurance against a massive fluid leak.
- The Correct Hydraulic Fluid: Don't just dump any hydraulic oil in there. Check your manual and get the specified fluid.
Field data shows that solenoid faults are responsible for nearly 25-30% of all drivetrain problems on backhoes like the JCB 3CX. That downtime can cost you $500-$800 per day. Waiting on the dealer is not an option.
Take Control of Your Repair
Sourcing your own parts is about more than just saving money. It’s about taking control. You’re no longer at the mercy of the dealer’s schedule or their inflated pricing. You diagnose the problem, you order the parts, and you do the work on your timeline.
This is how you turn a week of downtime into an afternoon fix. By bypassing the dealer, you’re not just swapping a part; you’re keeping your business moving and your money in your pocket. It's the difference between being a victim of a breakdown and being the technician who solved it.
Preventative Checks to Keep Your Transmission Working
Alright, you did it. The new solenoid is in, the machine is moving, and you just dodged a four-figure dealer bill. So, how do we make sure you aren't doing this all over again six months from now?
An ounce of prevention is worth a ton of cure, especially when the "cure" involves expensive downtime. Modern JCBs, with their finicky electronics and temperamental AdBlue systems, aren't like the old iron that would tolerate neglect. This isn’t about some dealer service plan; it's just common sense that keeps you working.
Clean Fluid Is Non-Negotiable
Let's get one thing straight: the #1 killer of transmission solenoids is dirty hydraulic fluid. This fluid is the lifeblood of your entire system.
Once that fluid gets contaminated with dirt, moisture, or metal shavings, it becomes liquid sandpaper. It chews up seals, plugs the tiny passages in valve bodies, and causes solenoids to stick, overheat, and burn out. Ignoring your fluid is asking for a failure.
- Routine Fluid and Filter Changes: Don't stretch the service intervals. For a machine that works hard, changing the transmission fluid and filter every 500-1000 hours is the cheapest insurance you can buy. A new filter from Flat Earth Equipment and a few gallons of fluid cost a tiny fraction of a new solenoid.
- Check Fluid Condition: Every time you pull the dipstick, look at the fluid. Is it bright and clear, or is it getting dark and murky? Does it smell burnt? A burnt smell is a huge red flag. It means your transmission is running hot, breaking down the fluid’s protective qualities.
Spotting Trouble Before It Strands You
A solenoid rarely just dies without giving you a warning. It usually drops hints that it's on its way out. The trick is to listen to your machine and catch these early signs before you’re stuck.
Think back to the weeks before the failure. Did you notice any of these?
- Lazy Shifting: You hit the shuttle lever, and there's that half-second delay before it engages. That hesitation is often the first sign of a solenoid struggling to move.
- Intermittent Problems: It works perfectly one minute, then flat-out refuses to engage the next. This is a classic electrical gremlin, often pointing to a failing coil or a loose connection.
- Failing When Hot: The machine runs great for the first hour but starts acting up after it reaches full operating temp. Heat increases the electrical resistance in a dying coil, pushing it past the point of failure.
You're the one in the seat every day. You know the machine's quirks better than anyone. When something starts feeling "off," don't just brush it aside. That gut feeling is your best early warning system.
Keep Your Electrical Connections Clean
The second biggest killer of these electronic parts is a poor power supply. A solenoid is just an electromagnet; if its voltage is low or inconsistent, it can't work right and will eventually burn itself out.
A quick walk-around is critical. Before you start the day, check the main harness connector at the transmission. Give it a wiggle. Is it tight and secure? Look for any signs of that nasty green corrosion or any frayed wires. A can of electrical contact cleaner and a small wire brush are your best friends. A clean, tight connection ensures the solenoid gets the full 12 volts it needs. It’s a five-minute check that can prevent a five-hour repair.
And while you're at it, always perform a quick check of your equipment as detailed in our essential equipment safety guidelines to make sure everything is good to go.
Common Questions From Guys in the Field
When you're out on a job site with a dead machine, the same questions always come up. You need straight answers, not the runaround from a service writer. Here's the no-fluff breakdown of what we hear most often.
Could a Blown Fuse or Bad Relay Cause This?
Absolutely, and it should be the very first thing you check. Before you order a solenoid, pop the cover off the fuse box and look for anything labeled "transmission" or "shuttle." A fuse is a five-minute, fifty-cent fix.
Don't stop there. A bad relay in that forward/reverse shuttle circuit will act exactly like a dead solenoid. Here's the best field trick: find a relay you know is good—like the one for the horn—and swap it with the transmission relay. If your horn suddenly stops working and the machine lurches to life, you’ve found your culprit. Always check the cheap and easy stuff first.
My Machine Moves but Feels Weak. Is That the Solenoid?
Possible, but not likely. A weak or slipping drive is almost always a sign of bigger hydraulic problems. We're talking low transmission pressure, a severely clogged filter, a failing charge pump, or—worst case—worn-out clutch packs.
A solenoid that's stuck partially open could theoretically cause a lazy engagement, but it's not the classic symptom. Pull the transmission dipstick. If the fluid is low, burnt black, or looks like a chocolate milkshake, you've got bigger fish to fry. A solenoid is an on/off switch; weakness and slipping are usually pressure problems.
Field Takeaway: Don't just throw parts at a problem. A complete failure to move points toward an electrical component like the solenoid. A weak drive points to a full hydraulic health check—pressure, fluid, and filters. Knowing the difference saves you time and cash.
I Replaced the Solenoid and It Still Won't Move. Now What?
This is the one that makes you want to throw a wrench. You did the work, spent the money, and you're still dead in the water. Don't panic. Go back to basics.
First, is the new solenoid plugged in all the way? That main harness connector needs to give a solid "click" to be seated. Next, did you get the right part number for your machine's specific serial number? A mismatch, even if it looks right, can be a showstopper.
If the installation is solid, your next suspect is the shuttle lever on the steering column. The switch inside that F-N-R selector is a high-use part that fails. Get your multimeter out and test its continuity. If that switch is good, you have to start tracing wires from the shuttle down to the solenoid. It's tedious, but a chafed or broken wire is a surprisingly common culprit. Only after you've ruled out all wiring and switches should you even start to think the Transmission Control Module (TCM) might be the issue.
When you're facing a JCB 3CX backhoe that won't move forward or reverse, a solenoid fix is your fastest path back to making money. Don't get stuck waiting on the dealer. Flat Earth Equipment has the solenoids, filters, and hydraulic parts you need, shipped fast to get you moving again.
Get the right JCB parts shipped today from flatearthequipment.com